After selecting ![]() , or View
, or View  or Edit
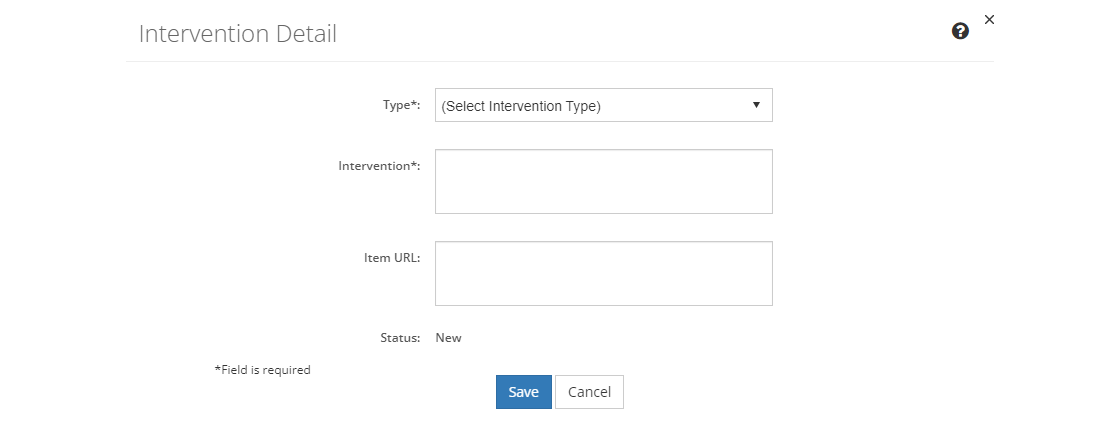
  in the Actions column for a selected intervention, you will see the fields below.

Figure 360: Intervention Detail Screen
•To create a new intervention, select Save once you've entered all the information. Likewise, to keep the edits you've made to an existing intervention, select Save. This will return you to the list of interventions.
•If you do not want to keep the edits or create a new intervention, just select Cancel to close the pop-up.
•If you're reviewing a intervention, you can select Edit to make changes, select Approve to approve the intervention, or you can close the pop-up window by selecting the X in the top right of the pop-up.
Intervention Fields
Type
The Type of intervention or learning event drop-down allows you to choose from options such as instructor-led training, e-learning, among others. You can set up the intervention types on the Customization screens.
Intervention
The Title or name of the existing intervention or learning event that supports a task, subtask, or step. This should include any identification number, like a course number, as well as the provider's name, if needed.
Item URL
If the existing intervention that supports a task, subtask, or step has a website, this is the space to enter it. The Item URL will allow the designers to review the existing intervention for possible reuse (insert into the learning event as is), repurpose (reusing and changing all or part of the learning event), or reference (mentioning it to the participants).